iTerm2 features I find useful
September 16th, 2024 · 3 minute read
iTerm2 is well known as one of the most powerful, high-quality pieces of software available on the Mac, and deservedly so. It’s packed to the gills with features and settings that feel like they could take a lifetime to learn. Here are a few I’ve picked up over the years that have found their way into my daily usage.
By the way, I highly recommend enabling iTerm2’s built-in “Tip of the day” feature. It’s probably where I learned about most of the things I mention below.
1. Show Timestamps
iTerm2 tracks when each line gets emitted to the console and can show you the timestamps of those events. This is great either when your logs don’t contain timestamps of their own, or even if they do since iTerm presents a consistent interface in your time zone.
Hit ⌘+Shift+E to toggle them.
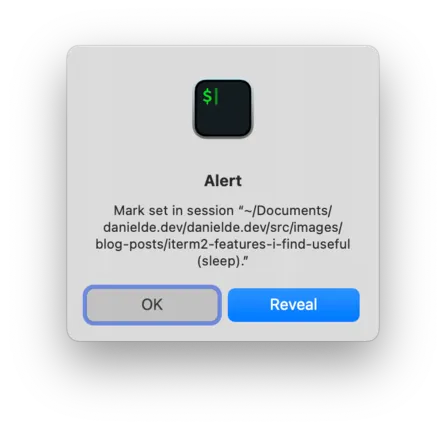
2. Alert on next prompt
With Shell Integration installed iTerm2 can alert you the next time it sees a new prompt. This is great for keeping track of when a long running command finishes. Kick off the command, hit ⌘+Option+A to set the alert, and then go do something else. iTerm will notify you when your command has finished running.
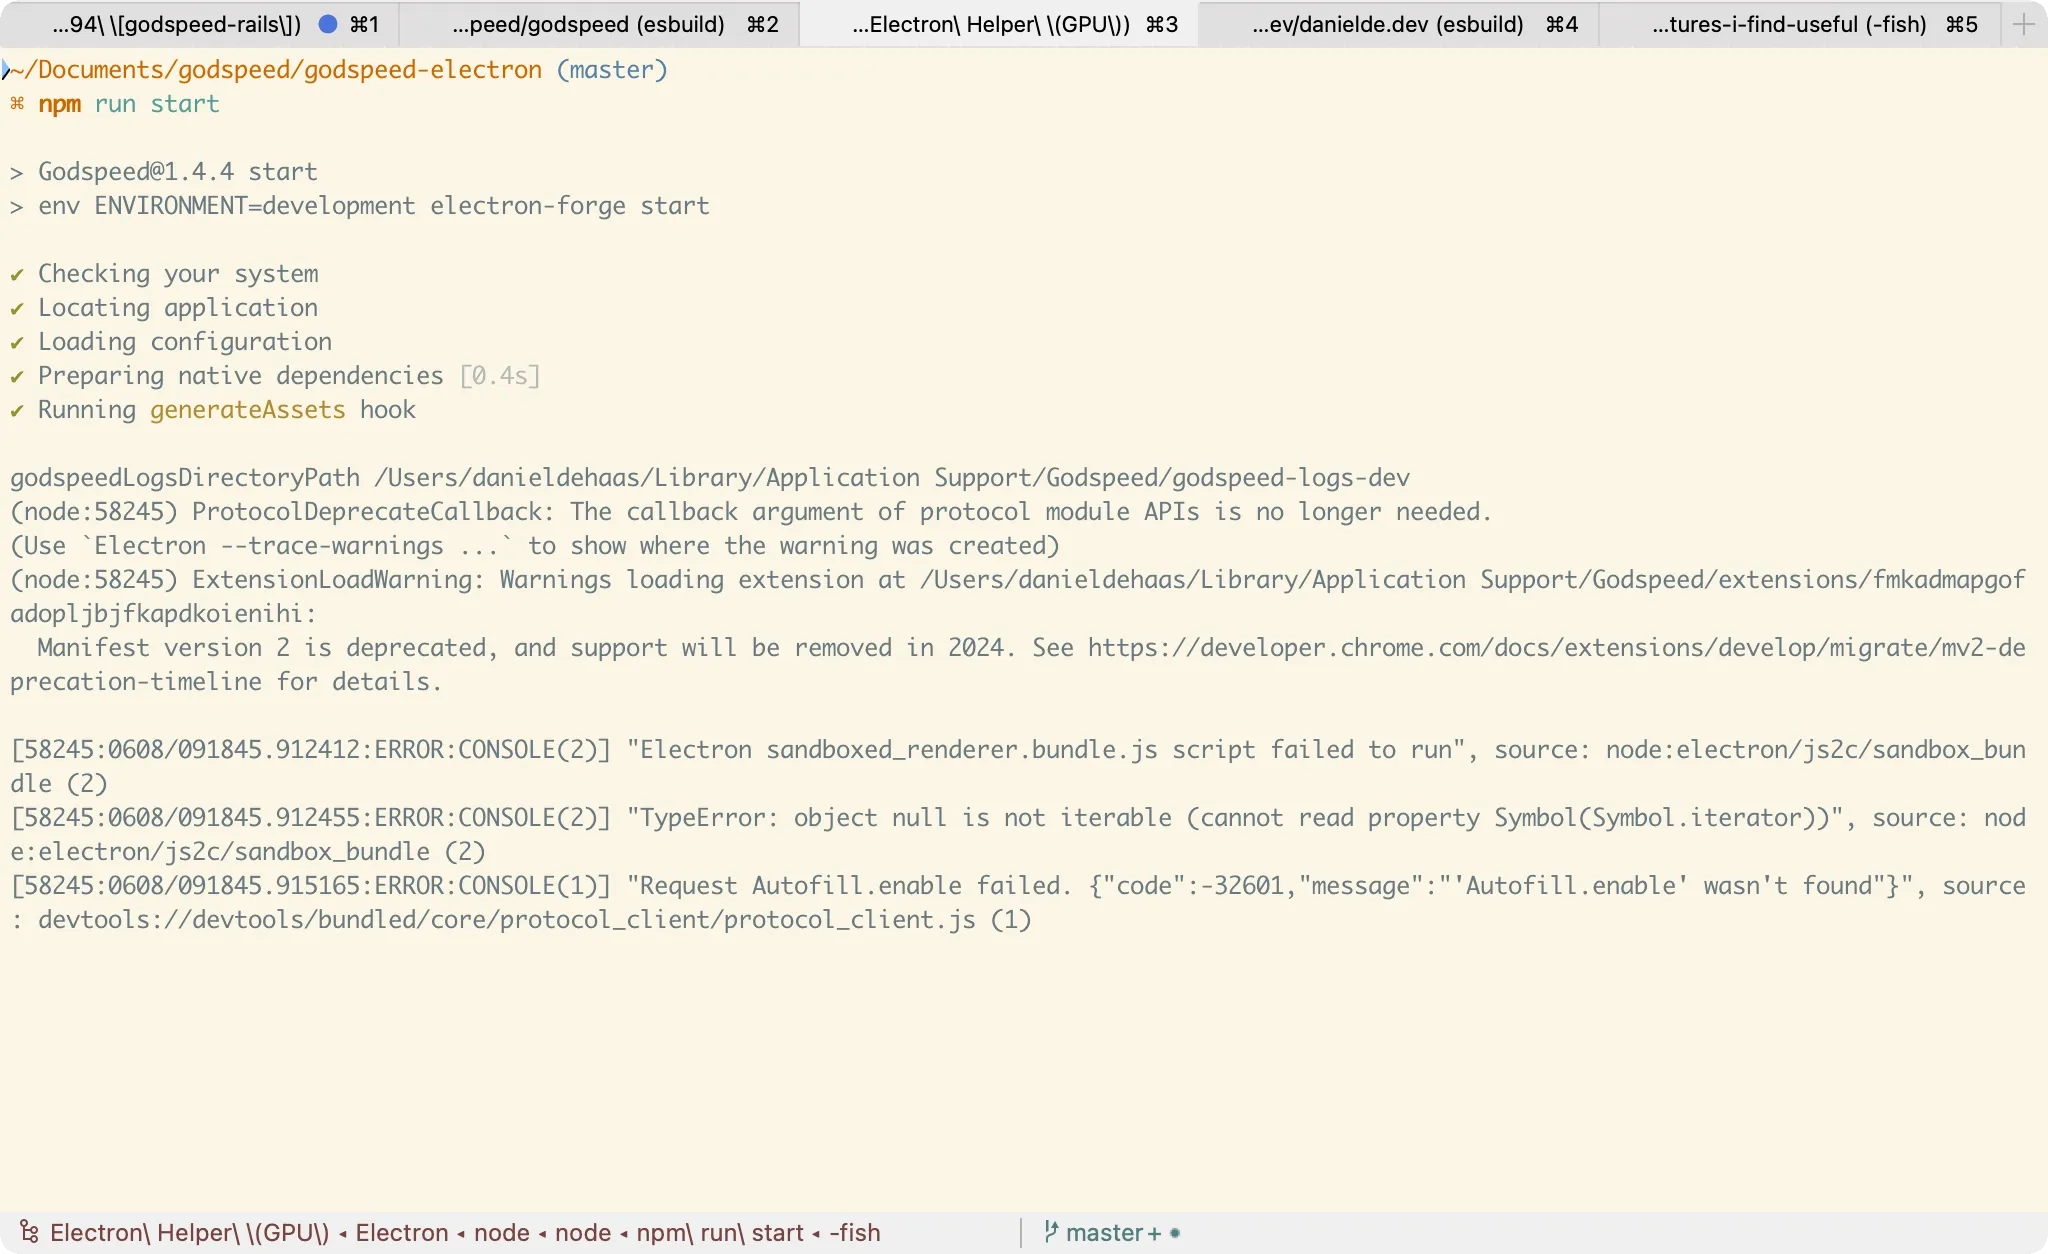
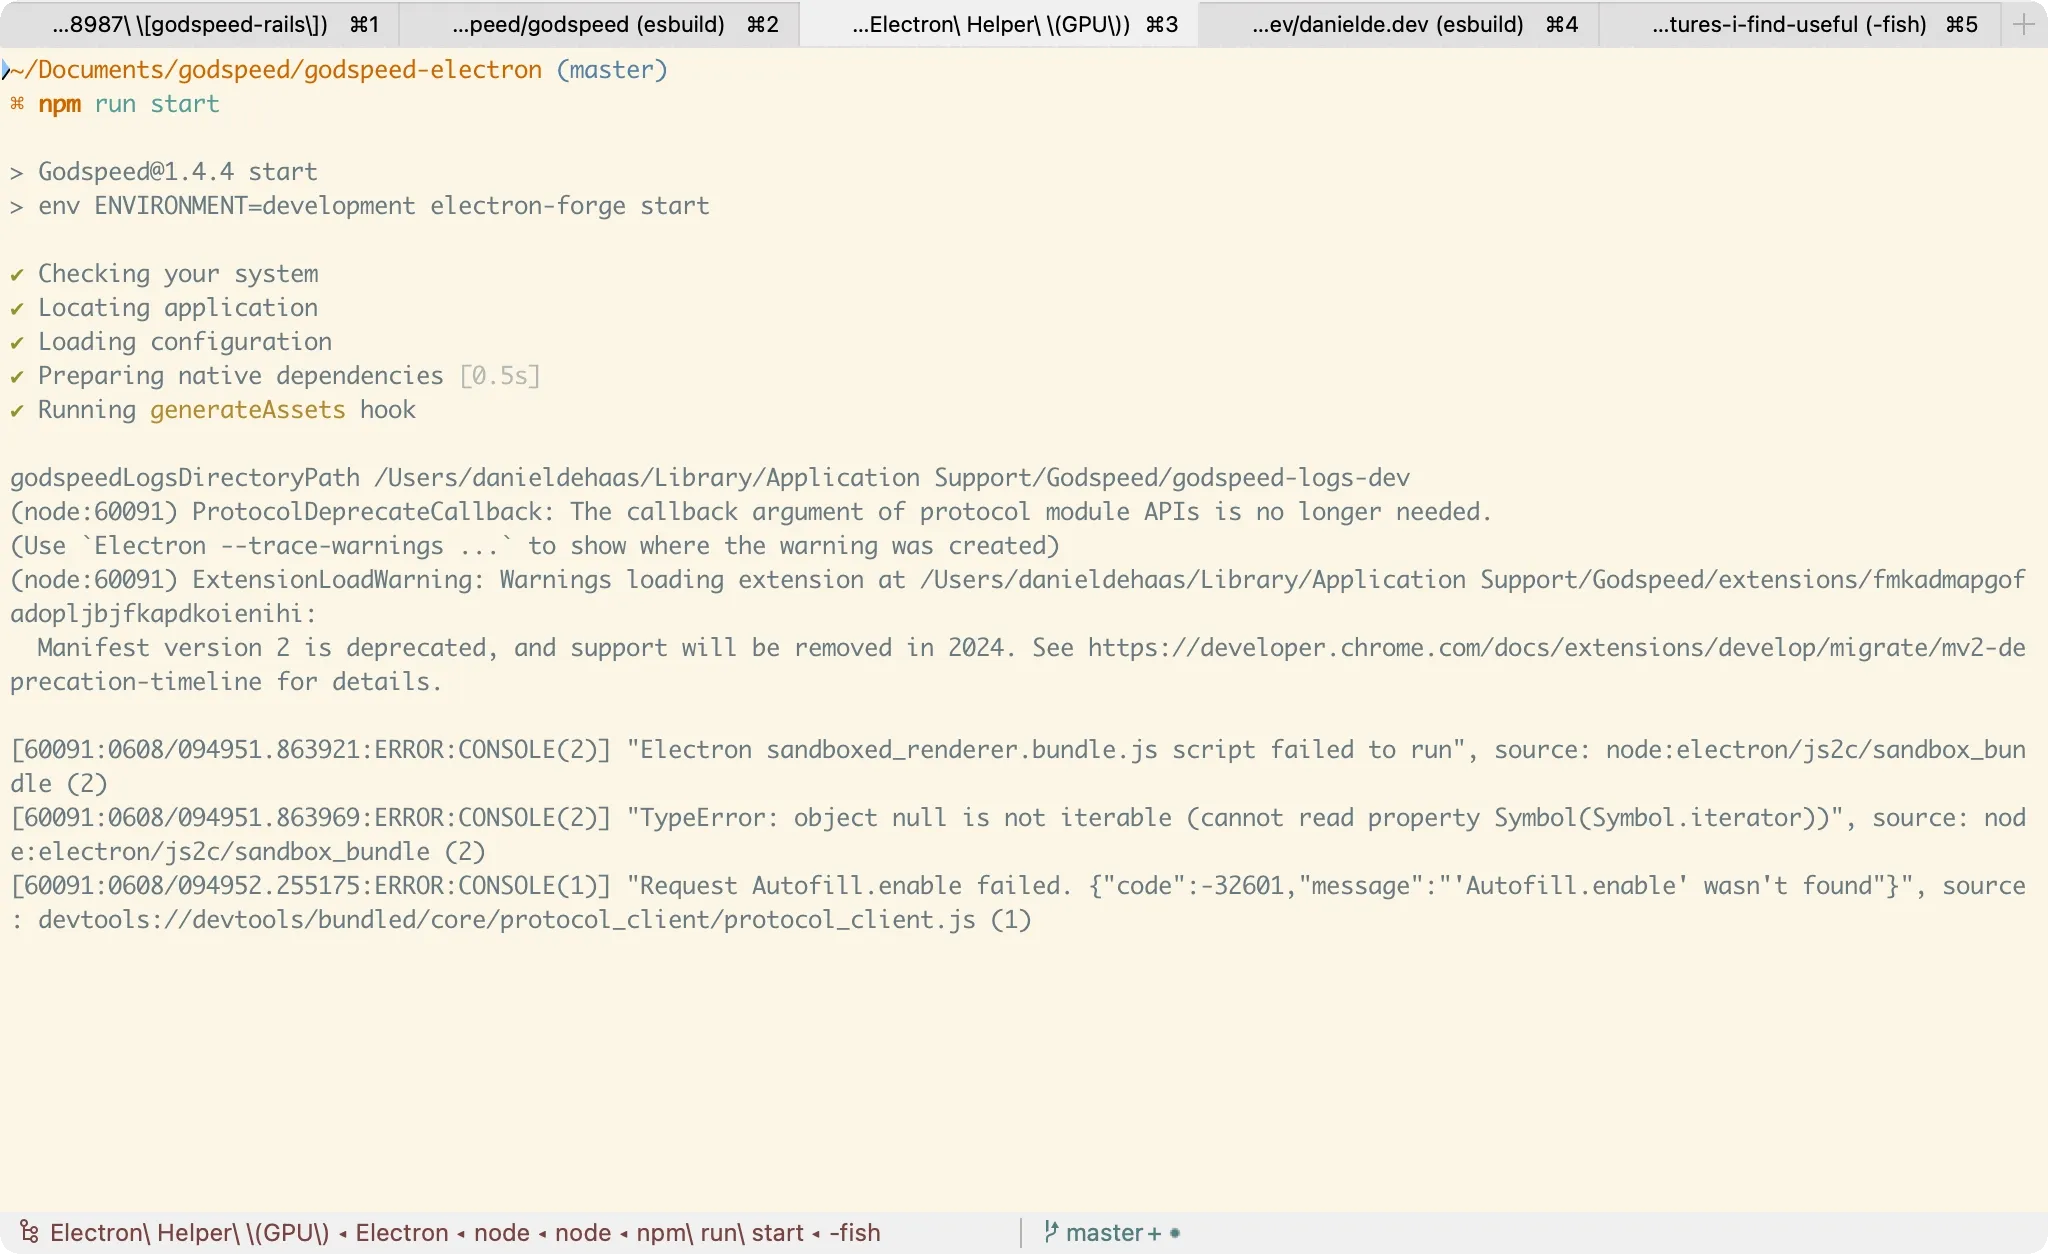
3. Jump between prompts
Another feature Shell Integration buys you is the ability to quickly jump between prompts. Use ⌘+Shift+Up and ⌘+Shift+Down to jump to the previous and next prompt respectively.
(In case you’re trying to find these commands in the menu bar, this feature actually jumps between “marks”. iTerm2 makes each prompt a mark automatically.)
4. Hotkeys to scroll one line at a time
I try to avoid reaching for my mouse as much as possible, so it’s nice to be able to scroll one line at a time with ⌘+Up and ⌘+Down when something has just scrolled out of view.
5. Rearrange tabs with hotkeys
Speaking of hotkeys, I’ve found it very useful to bind hotkeys to the actions “Move Tab Left” and “Move Tab Right”. I use Ctrl+Shift+B and Ctrl+Shift+F. This lets you rearrange your tabs without your hands leaving your keyboard.
You can assign these hotkeys in Settings > Keys > Key Bindings.
(If you like this one, you might also like this browser extension I built to do the same thing in Chrome.)
6. Copy Mode
Copy Mode lets you select and copy text entirely from your keyboard. Another crucial feature for hotkey junkies.
You enter Copy Mode with ⌘+Shift+C. You can then use arrow keys or Vim keybindings (h/j/k/l) to move your cursor around, and use space to start a selection. Then move your cursor to the end of the selection, hit ⌘C to copy the text, and Escape to exit Copy Mode.
7. Link and path selection with ⌘+Click
If you hold down ⌘ while you hover your mouse over some text, iTerm will detect links and paths and make them clickable. URLs will open in your browser, and paths will open in Finder.

8. Copy to pasteboard on selection
This setting does exactly what it says on the tin - when you select some text with your mouse iTerm2 will automatically copy it to your clipboard. I love thoughtful little features like this.
You can enable it in Settings > General > Selection.